DIY Terrarium: Simple, Easy, and Modern Greenery
Terrariumsare all the rage these days. From the impossibly tiny to the incredibly detailed, terrariums are delightful for people of every age. Being natural green, they also work very well in just about any style of home as well, which adds to their popularity. I’ll take you through a very basic step-by-step tutorial on how you can plant your own DIY terrarium with just a few minutes and very basic materials.
 View in gallery
 View in gallery
Materials Needed:
- Glass container(ideas include geometric glass terrarium cases, mason jars, vases, or whatever clear, glass container you like that allows for air flow)
- Activated charcoal
- Potting soil
- Tiny plants (not shown; succulents are used in this example)
- Bark, rocks, reindeer moss, etc. to your taste
- Plastic spoon & small paint brush (optional but recommended)
 View in gallery
Be sure your glassterrarium containerallows for air flow of some sort. This geometric terrarium has one side that is glass-free, allowing you to plant and ensuring that those plants, well, survive.
 View in gallery
Because terrariums tend to be on the humid, closed-in side of things, bacteria can develop and start to smell. Using activated charcoal as your base helps to pull toxins from the soil and water and also works to deodorize the terrarium.
 View in gallery
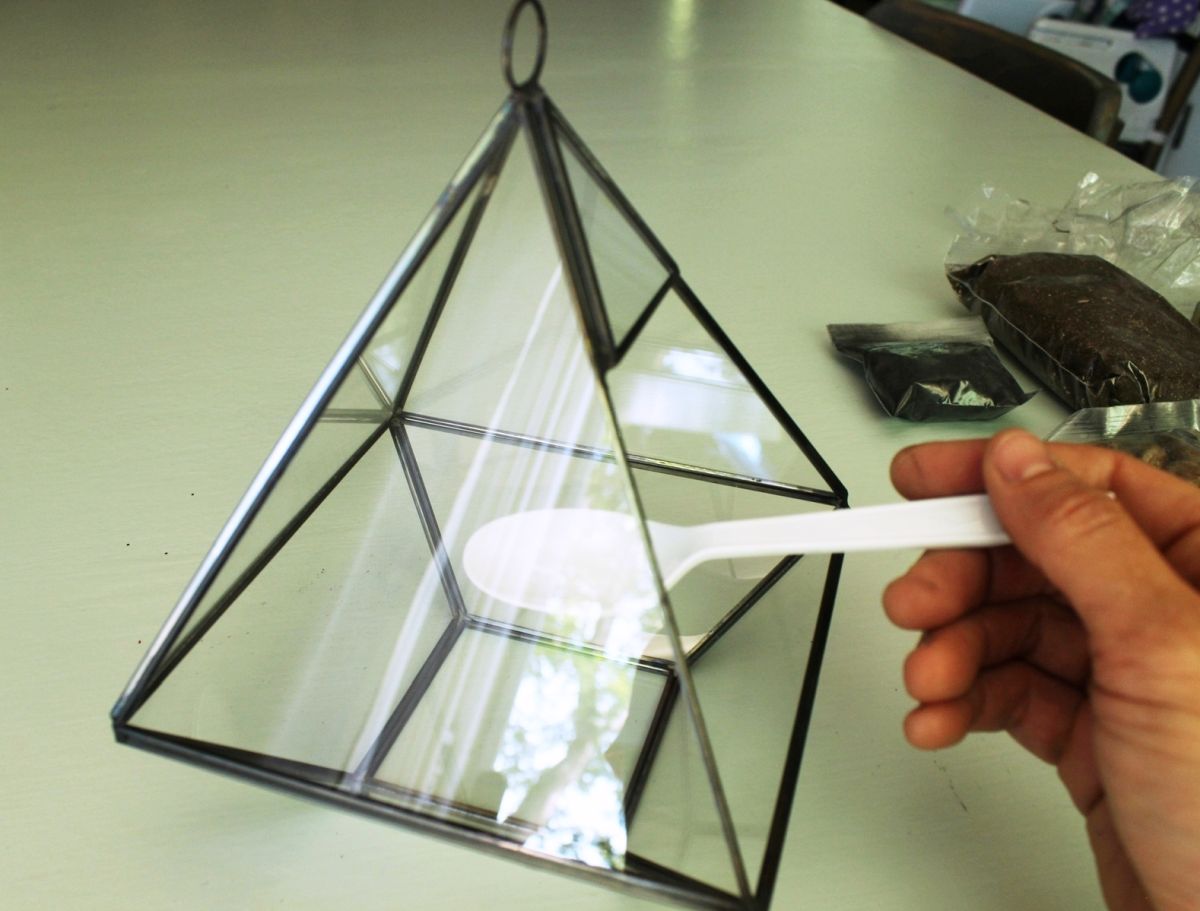
Place the activated charcoal in the bottom 1/2″ of your terrarium.
 View in gallery
The charcoal does tend to leave a charcoal-y dust film on the glass, so you can wipe it away with a bit of paper towel.
 View in gallery
Next level in your DIY terrarium is the potting soil. Put less in than what you think you’ll need, because when you plant your plants, they’re going to add to the level.
 View in gallery
Flatten out the soil with a plastic spoon or the back of a paintbrush or something.
 View in gallery
Be sure your soil is a little below the opening of your terrarium, to prevent its being spilled out. This one needs to have some soil removed at this point.
 View in gallery
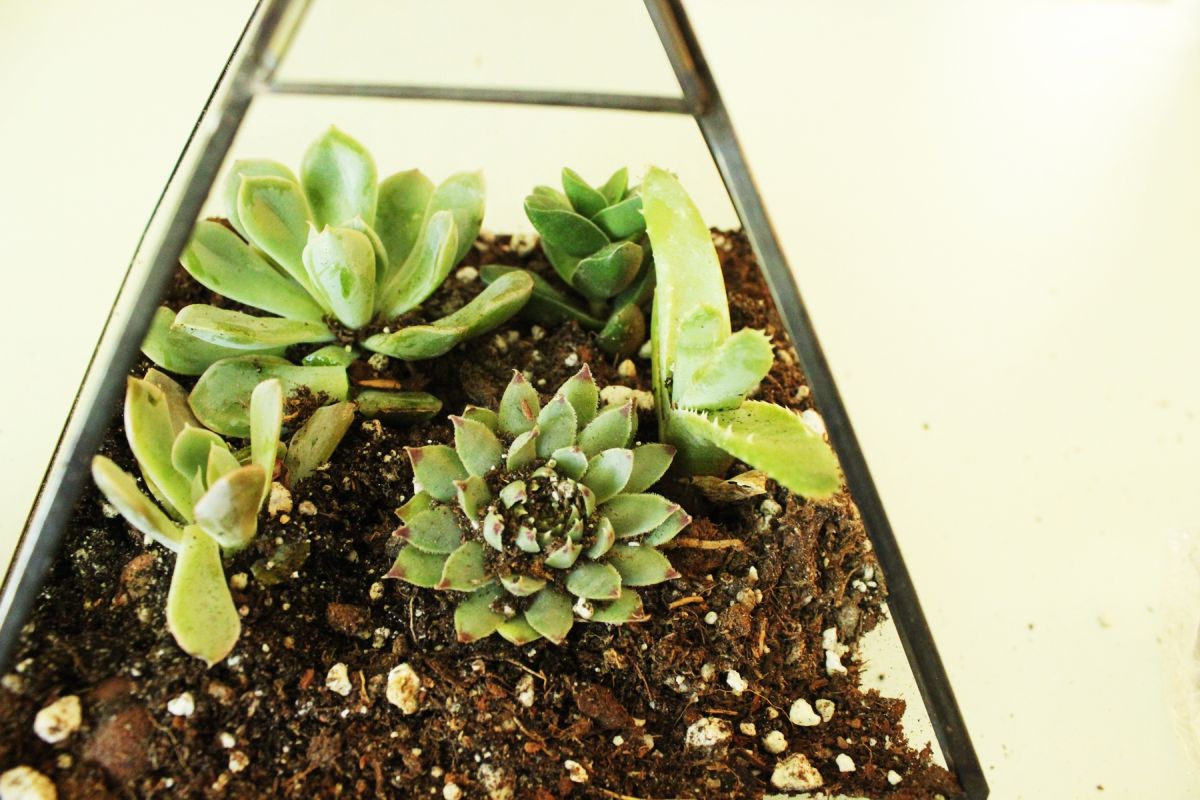
Plant the largest and/or furthest back plants first, for practical reasons. Once you get some plants in place near the opening, it’s much harder to reach into the back to plant more.
 View in gallery
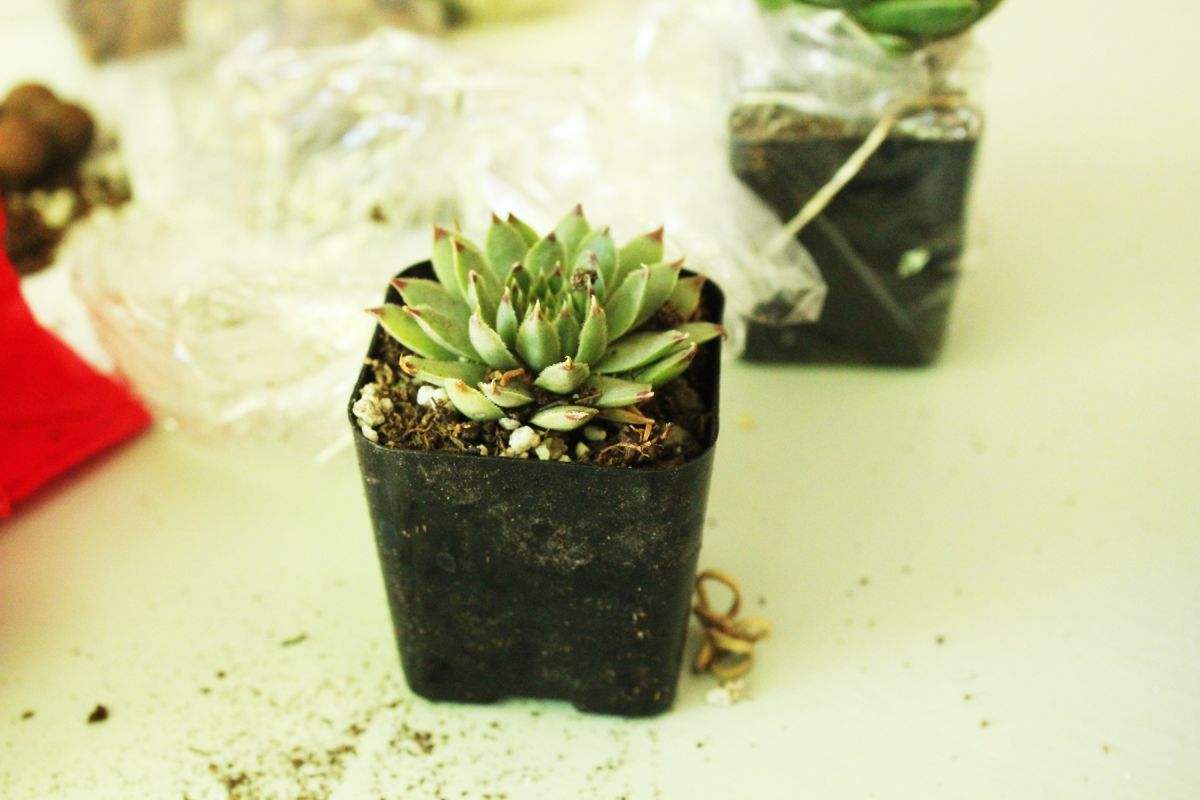
To plant a terrarium succulent, choose the plant you want.
 View in gallery
Remove the plant and the potting soil from the plastic planter.
 View in gallery
Gently break up the roots a bit, and flatten the potting soil ball so it will fit into your terrarium.
 View in gallery
Place the succulent into a little hole you’ve created with your fingers, and gently press the soil up to the plant all the way around to secure it into place.
 View in gallery
Add other plants to your terrarium until you’ve filled it in a way that you like.
 View in gallery
Chances are, as you’ve planted your plants, some of the potting soil found its way up into the tiny nooks and crannies of other plants. Use a small paint brush to gently scrape away that soil off their leaves and get them nice and cleaned up.
 View in gallery
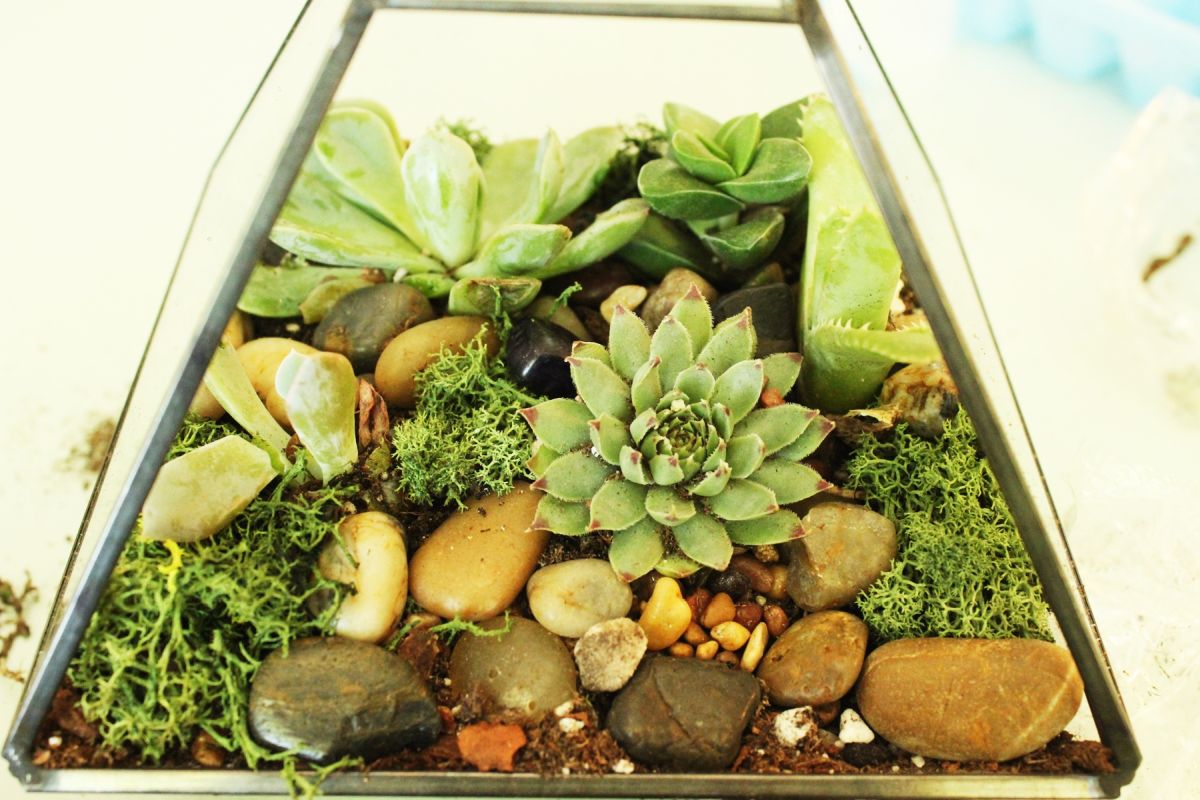
Use a plastic spoon to place some small, pretty rocks around the plants on top of the soil. Don’t forget to turn your terrarium and view it from all sides to make sure you get the 360-degree look you want.
 View in gallery
Here is where you can get a little more creative. Use bark, reindeer moss, or other small-scale pieces to complete the look of your terrarium. This example uses a green bit of reindeer moss.
 View in gallery
一个塑料勺子是用来把苔藓铁w areas where it completes the aesthetic of the DIY terrarium.
 View in gallery
What a nice little environment you’ve created for the plants! They’re lucky to have a home like this.
 View in gallery
For watering your DIY terrarium, you can simply add one or two ice cubes whenever the soil is mostly dry. This makes it easier to reach the back plants and also prevent overwatering.
 View in gallery
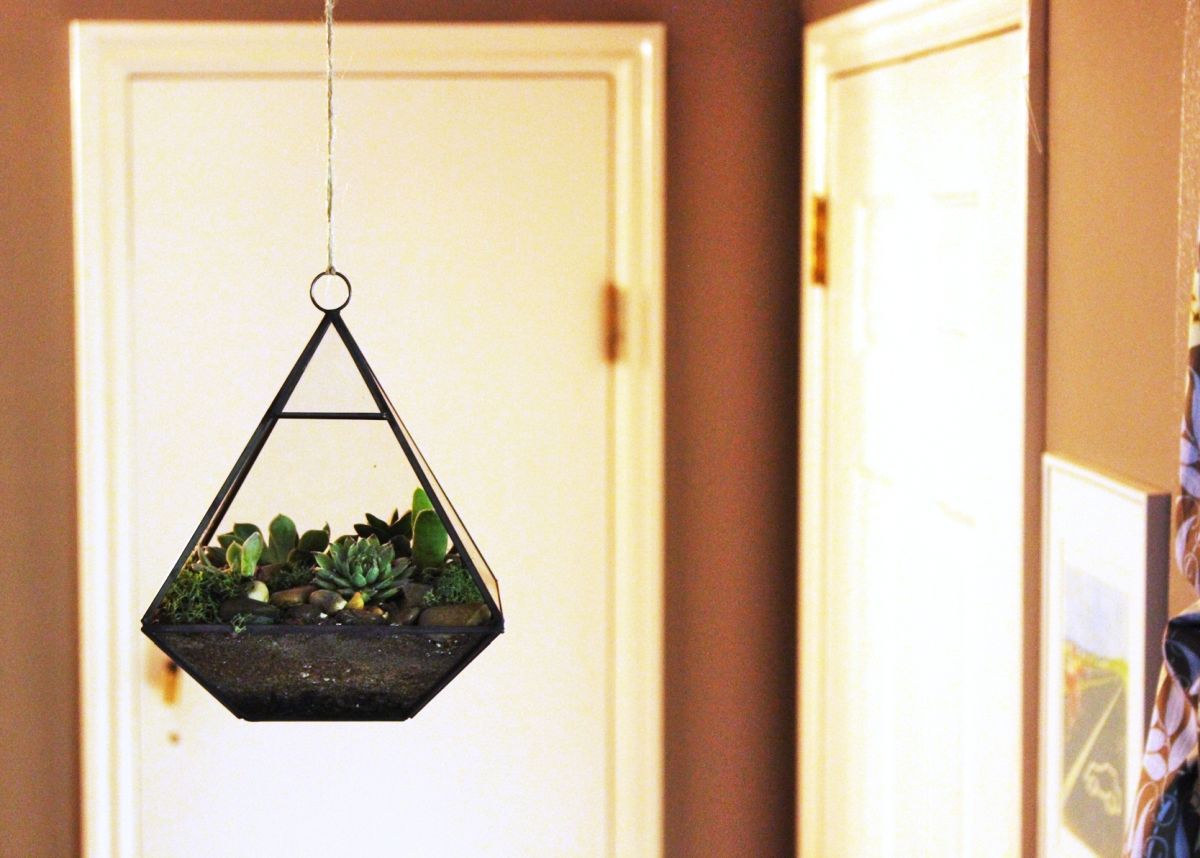
If your terrarium is a hanging one, tie a string or attach a chain to the hanging loop, and hang it up!
 View in gallery
It’s such a simple, natural décor detail, but it’s also pretty complex. This dichotomy makes terrariums appealing on many levels.
 View in gallery
We hope you enjoy creating your own DIY terrarium. The sky really is the limit in this; let your creativity soar. Happy DIYing!