DIY Wooden Picture Frame For Canvas
Celebrate Dad this Father’s Day by giving him the gift of love. A sentimental photo printed on canvas turns a beautiful moment into a special addition to your home decor.
 View in gallery
Finish off thecanvas with a this craft DIYhandmade frame to further personalize your gift. Hey, you’re never too old to give Dad something handmade!
 View in gallery
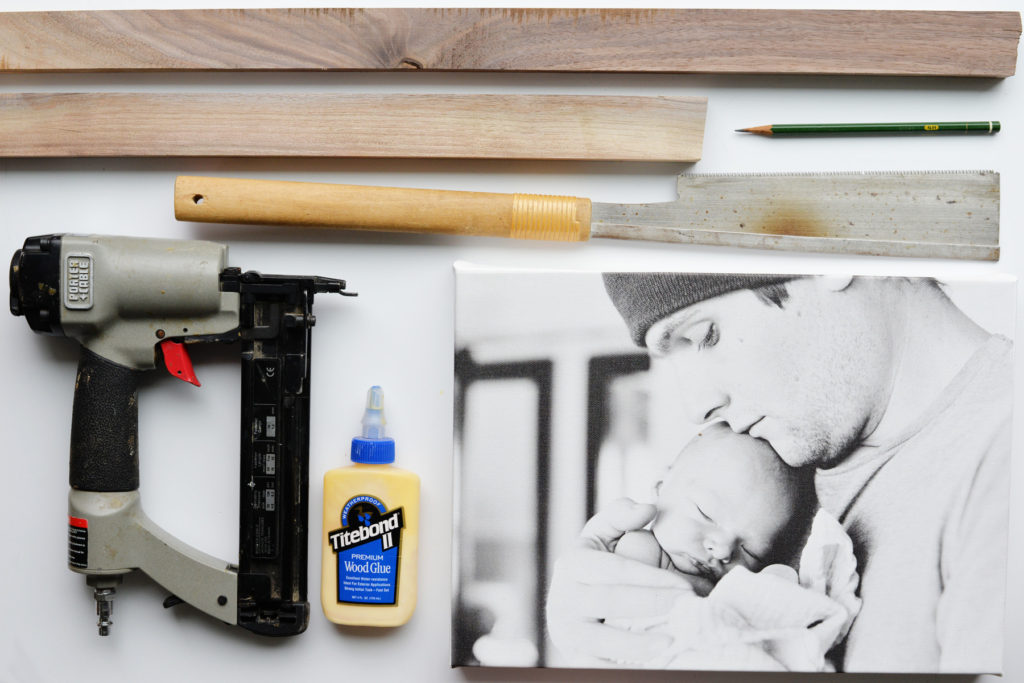
Supplies you’ll need for this wooden picture frame:
- Photo Canvas (like this one we had printed by Tiny Prints)
- 3/4″ (or larger) x 1″ wood trim
- Saw
- Pencil
- Wood glue
- Nail gun (or small hammer and nail)
- Tape
- Polyurethane finish
- Brush
- 90/45 degree protractor
DIY picture frame step by step:
 View in gallery
1. Cut trim down to 4 pieces if not already cut down. Ensure pieces are larger than the sides of the canvas. Lay them out around the canvas
2. To measure and make a 45 degree anglearound the frame, start with one side of the canvas and mark on the wood the ends of the canvas and ends of where the other pieces of wood hit the piece you are working on. From these points, use your straight edge protractor to draw your 45 degree angle.
3. Saw off the end of the wood at your 45 degree angle. Repeat for the other side.
4. Repeat steps 2 and 3 for all the pieces of the wood until they are cut down to size.
 View in gallery
5. Place your 45 degree angle ends together around the frame and make sure they match up. Make adjustments to measurements or angles as needed.
6. Once the sides ready to be attached to the canvas, sand down the edges and angle cuts to get rid of any splinters.
 View in gallery
7. Lay your sides in place tightly against the frame.
 View in gallery
8. Use wood glue where your angles meet to they will adhere to each other when you set the frame.
9. Attach the wood frame sides around the canvas with a nail gun or hammer and nails. Nail through the canvas to attach the sides. Let the wood glue dry up once the frame is set. (side note- this canvas is tough and definitely withstands all the man handling that goes into this project! As long as you don’t nail through the photo part of the canvas, no need to worry when it comes to using a nail gun around this thing!)
10. When the wood glue is dry, tape off the canvas and apply a thin layer of finish to the frame with a brush. Let dry according to the instructions on the back of the bottle/ can of finish.
 View in gallery
 View in gallery
When your frame is finished you can add a bracket to the back if you want to hang it on the wall, use a command strip to hang, or just let the frame stand freely on a shelf. Wrap up and give to Dad on Father’s Day!
View in gallery
 View in gallery
 View in gallery