DIY Wall Clock – A Simple Wooden Project
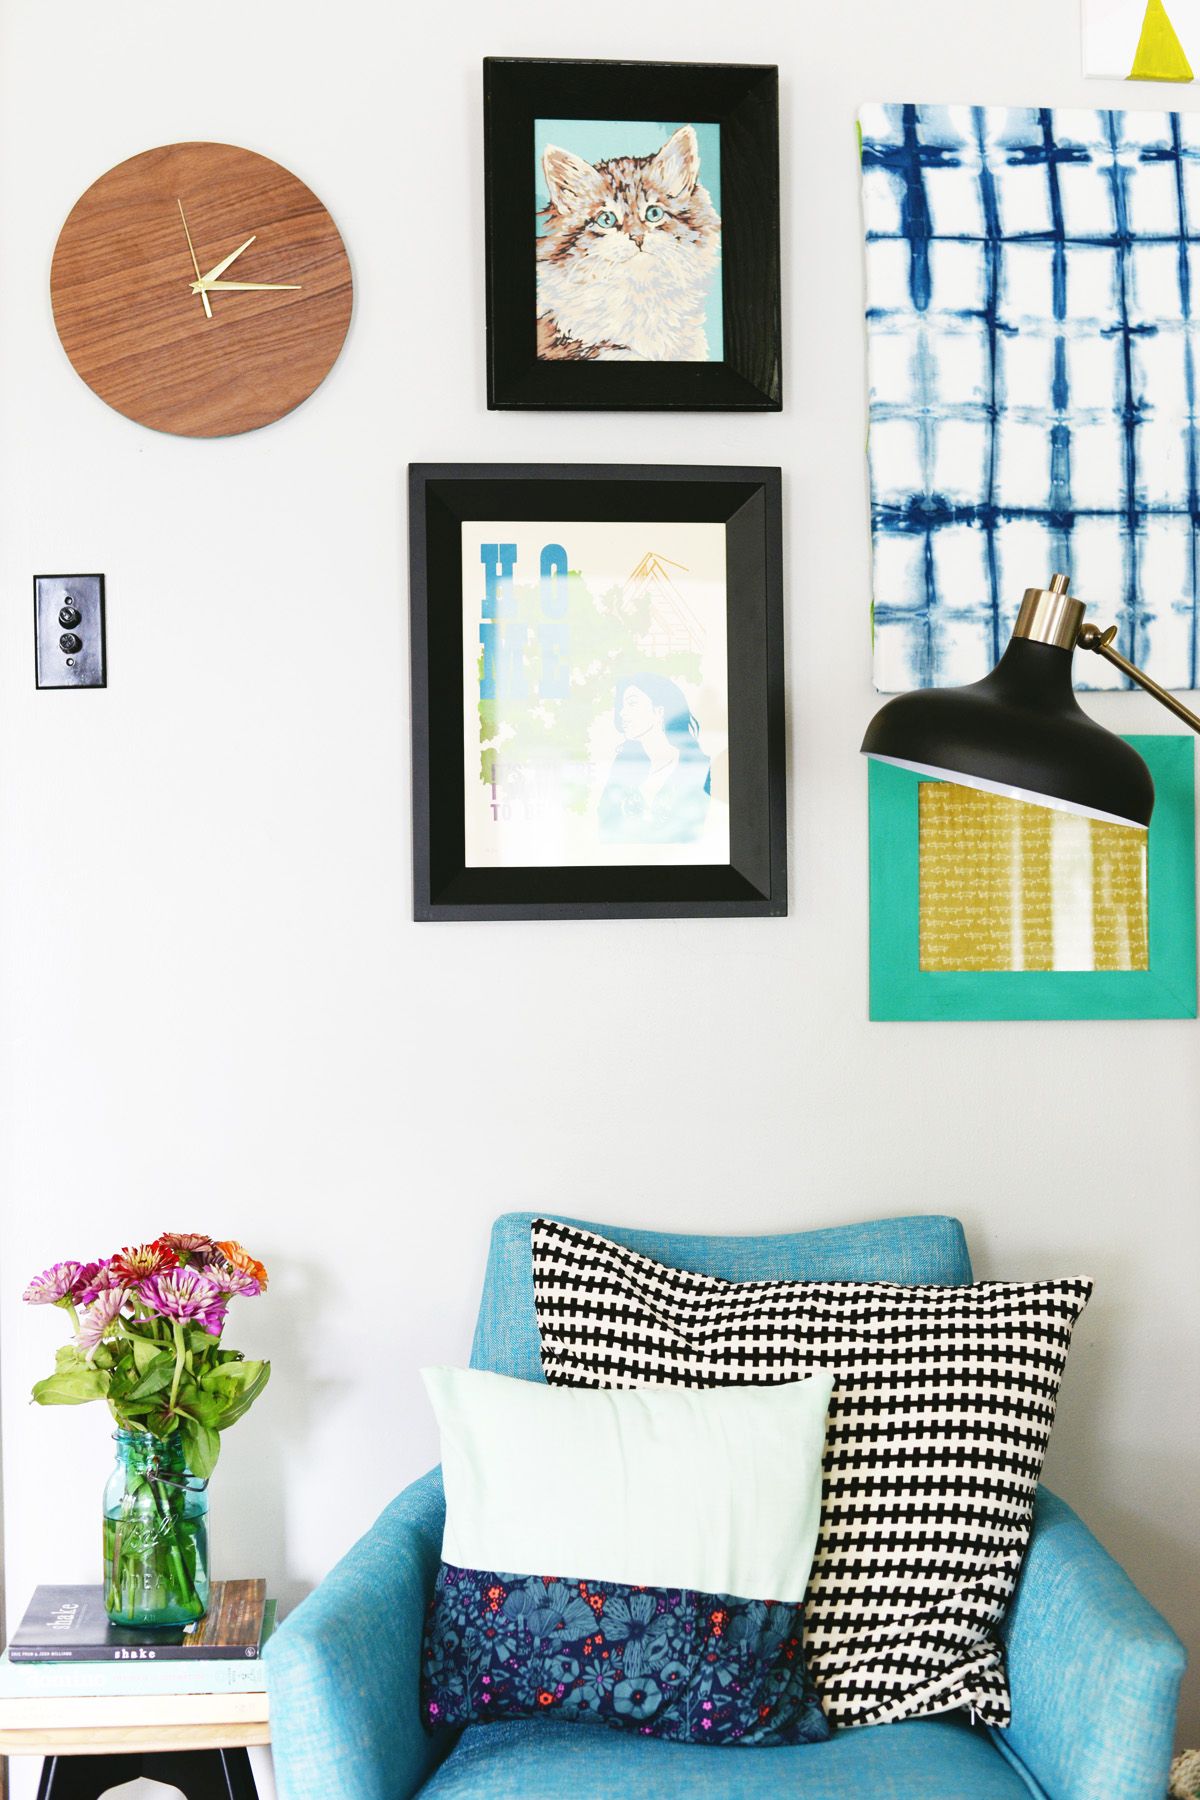
Create a sleek,modern clock for you wallfor a fraction of the price of a store bought piece. Customize the size (and shape if desired!) for your space. This lovely wood veneered wall clock will look perfect in any room!
 View in gallery
 View in gallery
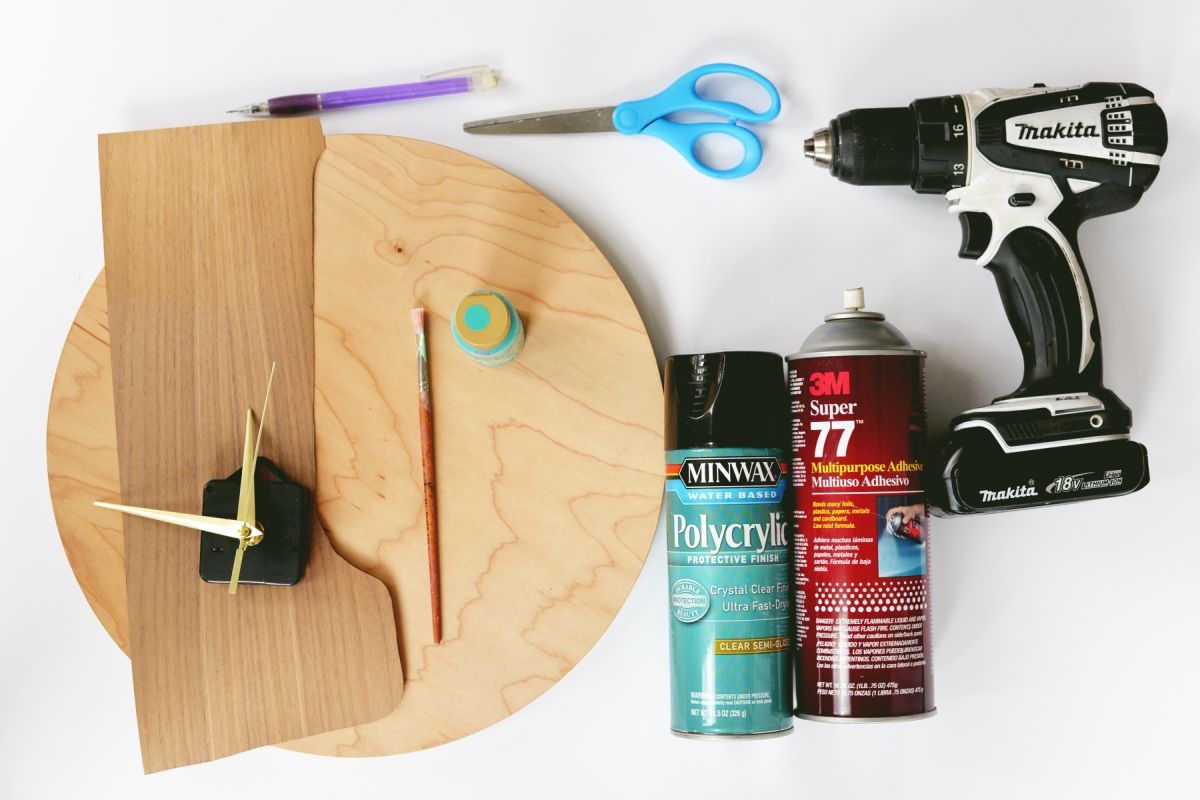
Supplies you’ll need for this wall clock:
- Wood (cut into circle)
- Walnut wood veneer
- Clock face
- Drill with drill bit that coordinates in size to clock face screw
- Clock face and parts
- Paint
- Paint brush
- Spray adhesive
- Spray finish (clean polyurethane)
- Scissors
- Pencil
 View in gallery
Instructions of how to DIY wall clock:
1. Lay your wood circle out on a large piece of walnut veneer and trace the circle on the back side of the veneer.
2.用剪刀剪出v的圆片eneer.
3. Attach the veneer to the wood circle by spraying a light coat of spray adhesive to the back side of the wood veneer circle and the front side of the wood circle. Smooth the veneer down directly on the wood. Make sure the circles line up correctly and smooth out any air bubbles or bumps. Let the spray adhesive dry for the amount of time indicated on the back of the spray bottle.
4. Once the veneer has been glued down to the wood you can proceed with painting the edges. If needed, you may need to sand the edges first to get everything smooth. Then use your paint brush and paint to carefully paint the edge of the wood. Here we used a bright bold pop of teal to add a fun accent to our walnut wood veneer. Let the paint dry for at least an hour.
5. Once the edges of the clock are dry, finish off the walnut wood with a clear spray finish. Spray a light coat of the spray clear coat evenly across the clock face. Let the clear coat dry for the amount of time instructed on the back of the bottle.
6. Once the clear coat finish is dry, carefully measure out the center of the circle and use your drill with coordinating drill bit to place a hole in the center of the circle. Thread the center screw of the clock (battery portion on the back of the clock) up through the center hole of the clock and then place the clock face on the front of the wood circle. The clock face should easily screw or snap into place. This should complete you clock!
 View in gallery
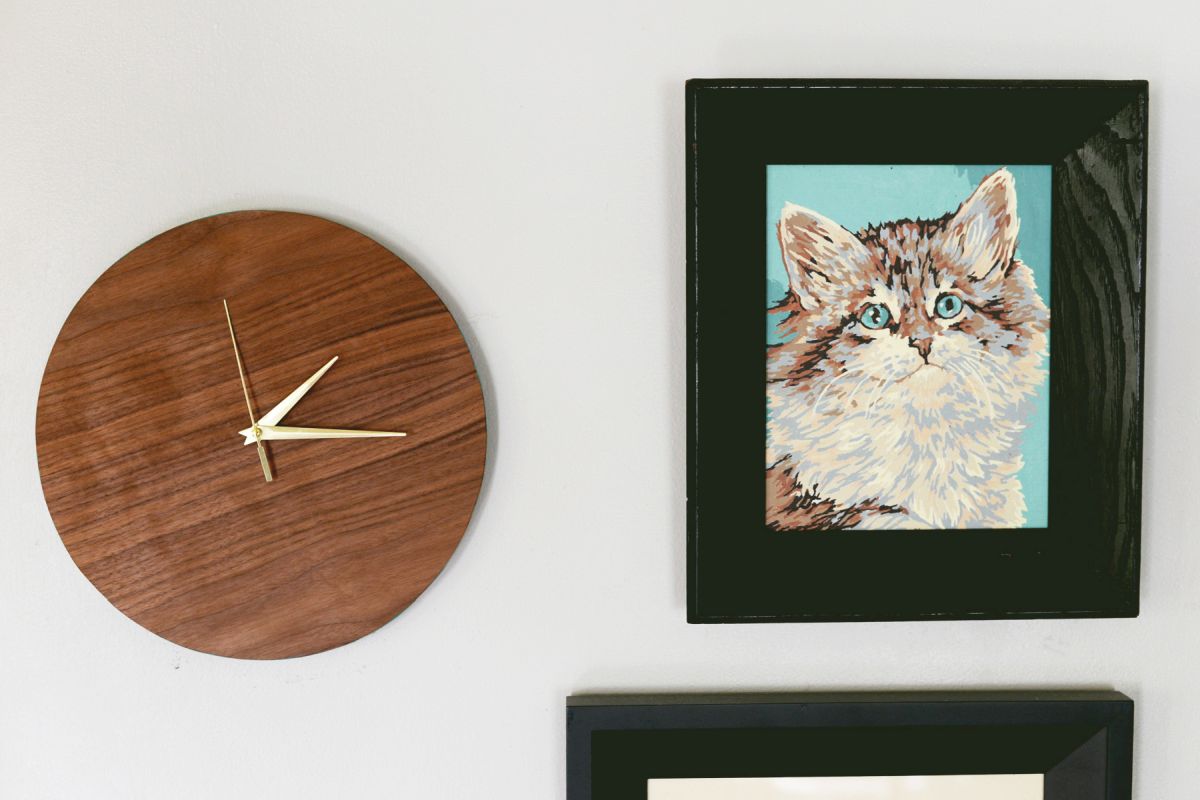
Set the time and hang up your beautiful, modern new clock!
 View in gallery
 View in gallery
 View in gallery
 View in gallery