DIY Planter Box From Pallets
We love plants and we love pallets so thisgreat DIY projectwas right up our alley. It’s simple, it isn’t very time-consuming and it’s also really cost-efficient, especially if you can findsome pallets for freeor at a really small price. In any case, let’s get started. First you need to gather your supplies for this stylish pallet planter. The most important part is the pallet or what leftovers you might have from previous projects.
 View in gallery
1. Cut the pallet boards down to size
 View in gallery
The first step is to cut all the pallet boards down to size using a miter saw. Cut some 16’’ by 20’’ long pieces and some 1’’ by 2’’ pieces for the frame. Of course, you could also use 2’’ by 4’’ boards if you prefer these dimensions. You should always feel free to customize and adapt DIY projects.
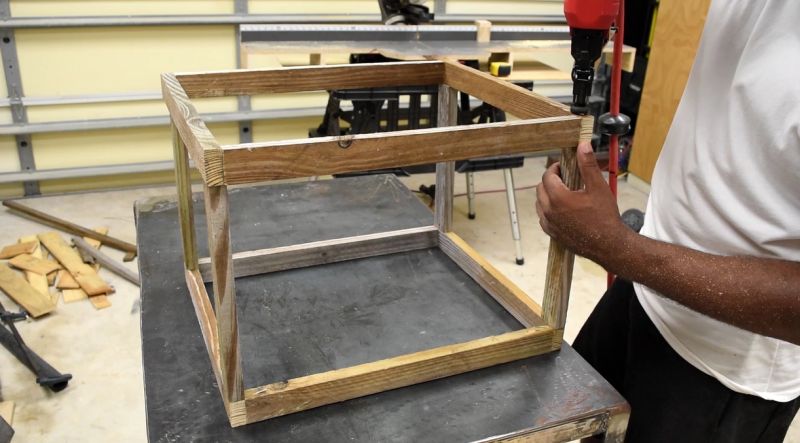
2. Build the frame using a nail gun
 View in gallery
Using a nail gun, put together the wood pieces for the frame. You could also do this with screws but you need to make sure you don’t split the wood so always pre-drill the holes. Make two square or rectangular frames, one for the top and one for the bottom. Then connect them with the remaining frame boards by nailing these to the corners of the frames you’ve already put together.
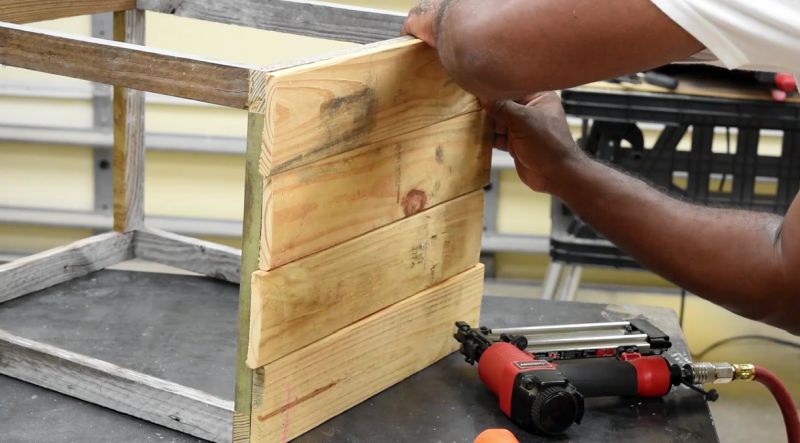
3. Attach pallet boards to the outside of the frame
 View in gallery
Then you need to start attaching the pallet pieces to the outside of the frame to make it strong and sturdy. You can use small nails for this part. Offset every other board to make them look as if they’re interlocking. This will add strength to the planter and it also makes the installation pretty fun and easy.
4. Install the bottom
 View in gallery
After you’ve covered two sides of the planter with pallet boards, it’s time to install the bottom. Then continue with the other two sides. You can nail these to the frame but it would be best to also add a few screws for extra strength.
5. Make a trim around the interior
 View in gallery
Once you’re done with the frame itself, you can use a few pallet pieces to create a trim around the interior of the planter. You can later use this space to place some decorative rocks or gravel and give the planter a cool and zen look.
6. Sand down and paint the planter
 View in gallery
Now your planter box is pretty much all done. You just need to use a sander to make it all smooth around the edges and to also make it ready for the paint. Then apply a coat of paint and let it dry. Fill in the nail holes and cover up any cracks. You can then apply a second coat if you want.
7. Add four angled legs
 View in gallery
To keep the planter elevated from the ground, you can cut some pallet pieces at a 45 degree angle and make four legs. Attach them to the bottom of the planter box using three screws for each, two on the outside and one from the inside of the box. Sand down the legs and then cover them with a coat of clear polyurethane.
8. Finishing touches
 View in gallery
Now your new planter is all done and you can go ahead and place your planter inside and then put some weed barrier fabric, cut out a hole for the plant to fit through and place it on top. You’ll be adding some soil around the plant for a uniform look and then the rocks around it.
Subscribe nowfor more projects.